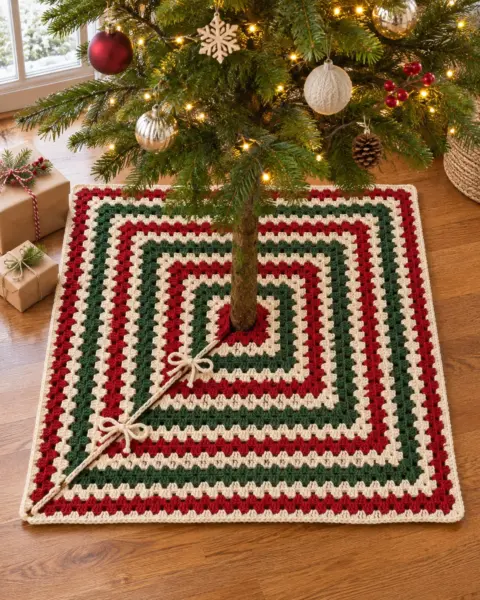
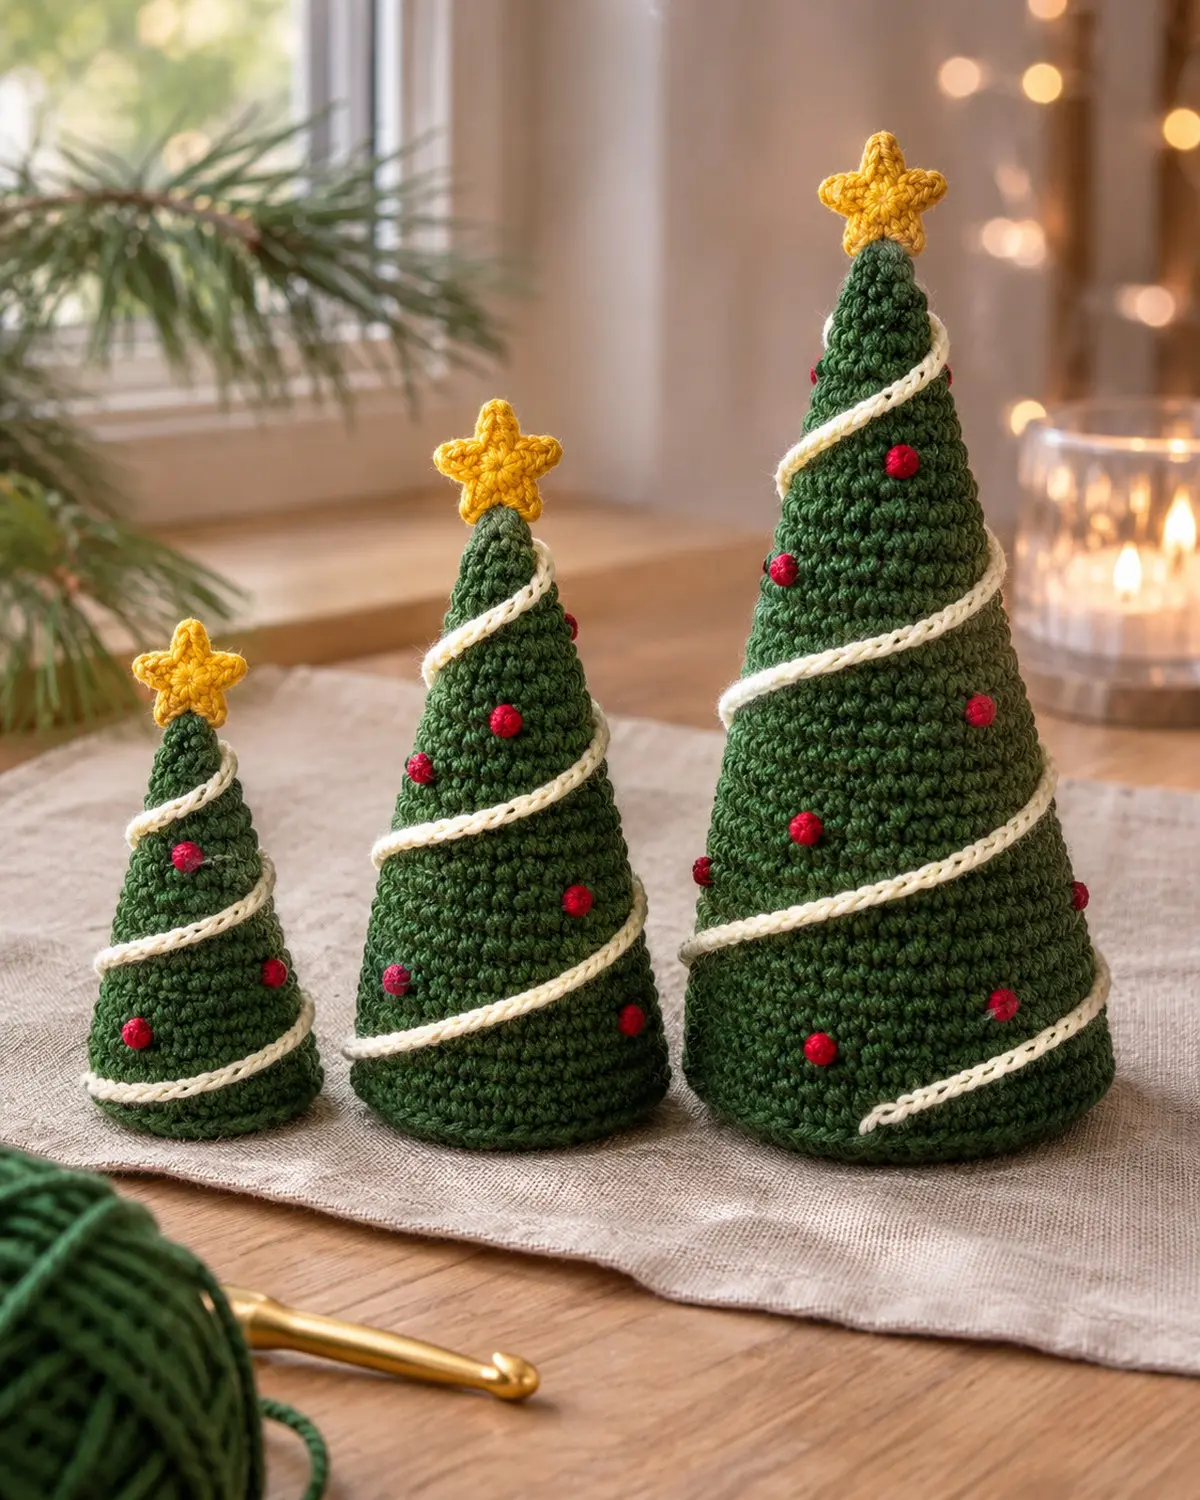
A little forest of crocheted Christmas trees on a shelf or windowsill is one of my favourite cheap-and-cheerful decorations. This crocheted Christmas tree pattern makes a soft cone tree in plain single crochet, worked in a spiral from the tip down, then finished with a spiral garland, a tiny star and a few red baubles.
There are three sizes, and they all use the same simple rhythm: one plain round, then one round with three increases. Make one, or make all three for a set.
In this post
Pattern at a glance
- Skill levelEasy
- Sizes3.3 in, 5 in and 6.8 in tall
- YarnWorsted weight (#4)
- Hook4.5 mm (US 7)
- TimeAbout 1–2 hours (medium)
- TermsUS crochet terms
Free printable pattern
Prefer to crochet from paper? The printable PDF has the full pattern for all three sizes, the base circle, star and finishing steps, plus the size diagram, on four pages.
Materials
- Green worsted weight yarn: about 15 yd (14 m) for the small tree, 30 yd (27 m) for the medium and 50 yd (46 m) for the large
- Cream yarn for the garland: 2–4 yd
- Yellow or gold yarn for the star: about 1.5 yd
- Red yarn scraps for the French knot baubles
- 4.5 mm (US 7) crochet hook
- Polyester fiberfill, plus an optional cardboard circle for a flat, steady base
- Stitch marker, tapestry needle and scissors
A slightly tighter tension than usual helps here: the cone keeps its shape better and the stuffing doesn’t show between the stitches. If your fabric looks holey, drop down half a hook size.
Abbreviations (US terms)
| US | Meaning | UK equivalent |
|---|---|---|
| ch | chain | ch |
| sc | single crochet | dc (double crochet) |
| inc | 2 sc in the same stitch | 2 dc in the same stitch |
| sl st | slip stitch | ss |
| st(s) | stitch(es) | st(s) |
Sizes
All three trees follow the same pattern; you simply stop increasing at a different stitch count. Sizes are approximate and depend on your tension.
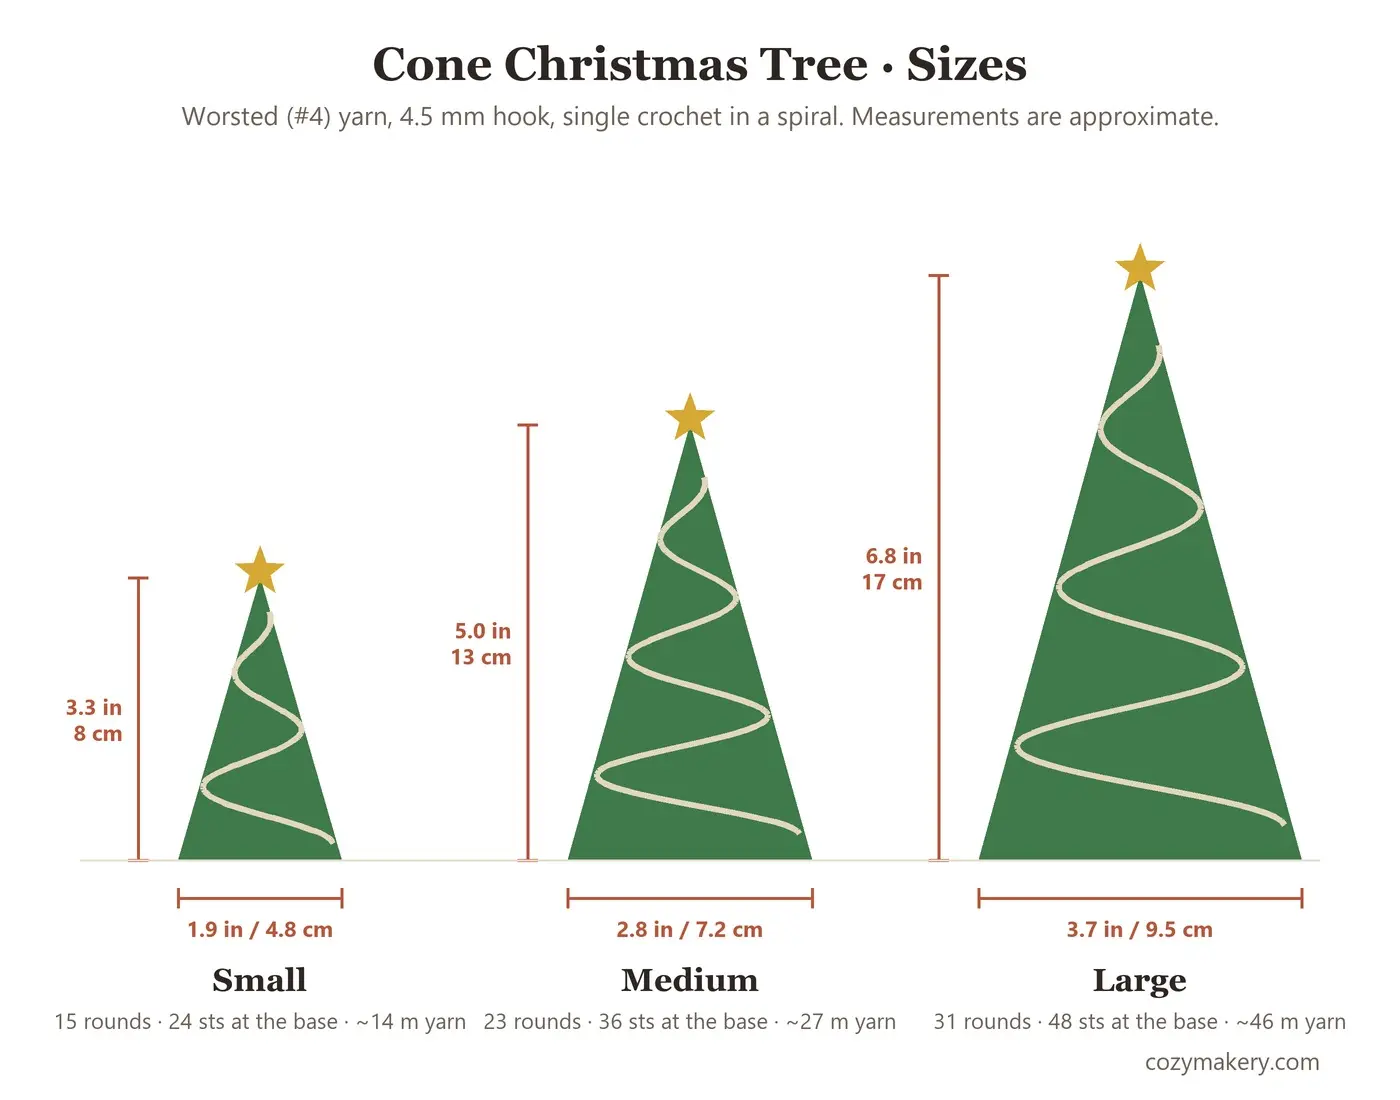
| Size | Cone rounds | Stitches at the base | Base circle rounds | Garland chain |
|---|---|---|---|---|
| Small | 15 | 24 | 4 | about 30 ch |
| Medium | 23 | 36 | 6 | about 60 ch |
| Large | 31 | 48 | 8 | about 80 ch |
Crocheted Christmas tree pattern
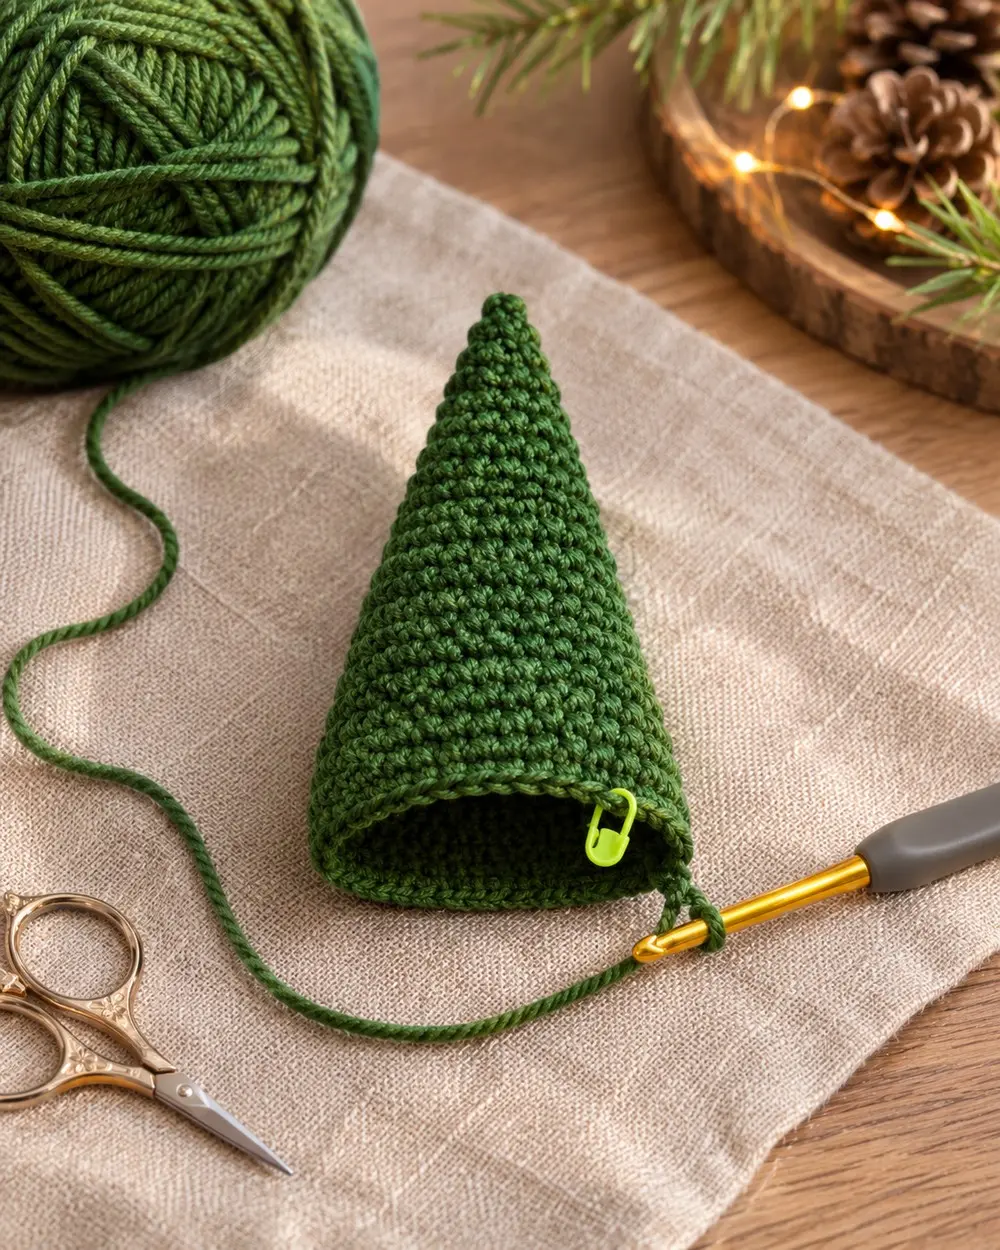
The cone is worked in a continuous spiral: don’t join at the end of each round and don’t chain to start the next one. Put a stitch marker in the first stitch of every round and move it up as you go. The numbers in brackets are your stitch count at the end of the round.
Cone (green), medium size
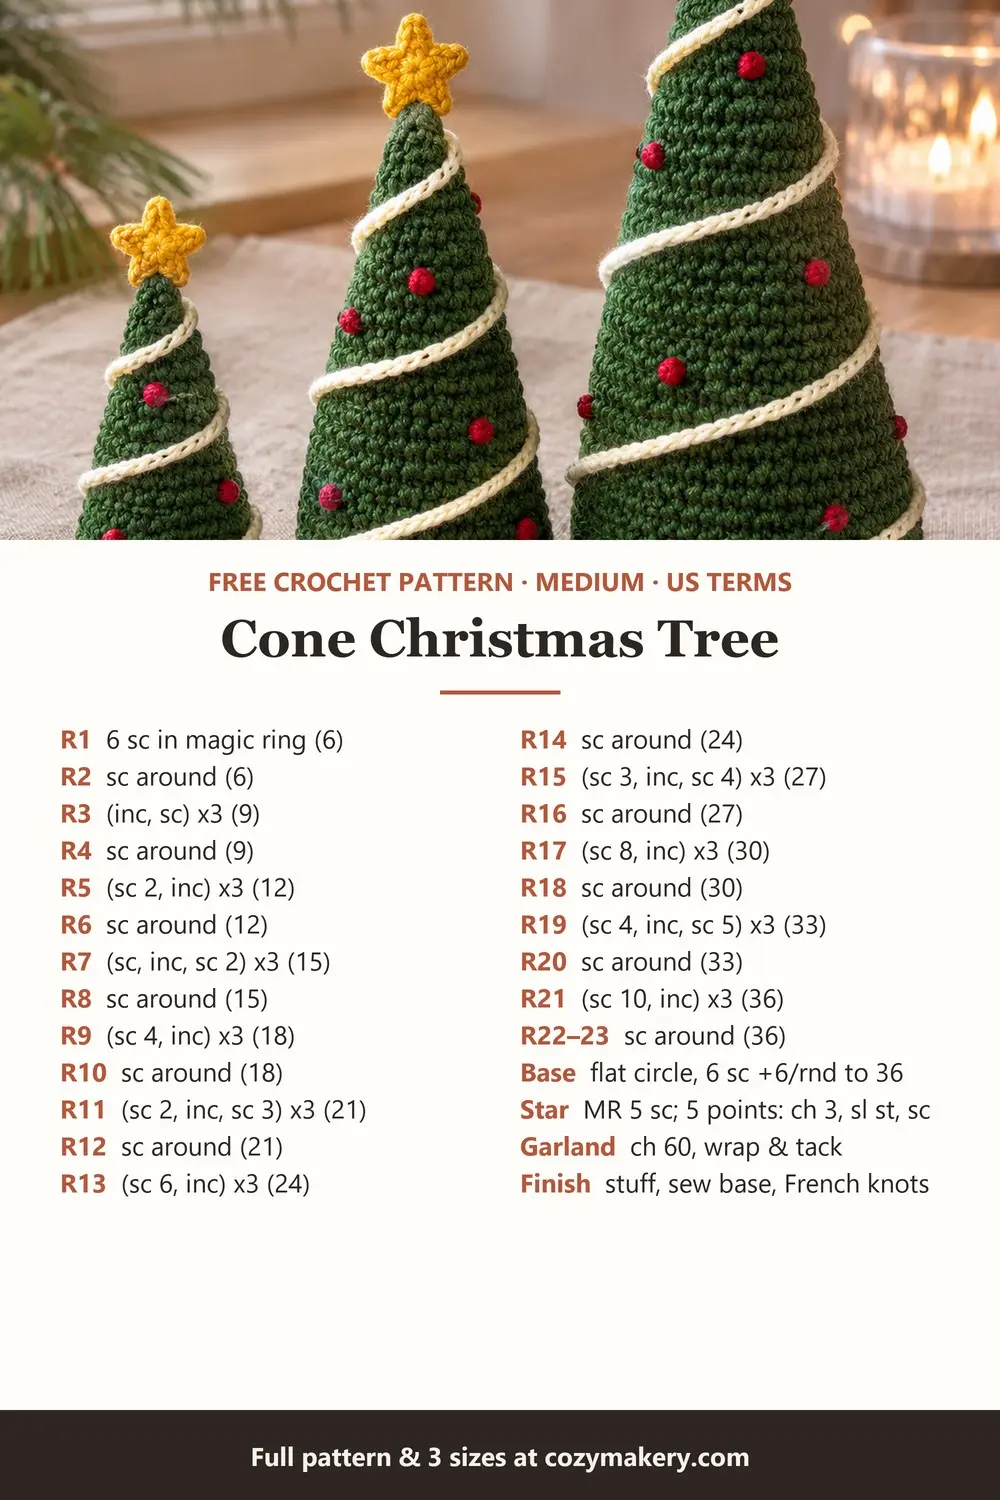
- Round 1: Make a magic ring and work 6 sc into it. Pull the ring tight. (6)
- Round 2: Sc in each st around. (6)
- Round 3: *2 sc in the next st, sc in the next st; repeat from * 2 more times. (9)
- Round 4: Sc in each st around. (9)
- Round 5: *Sc in the next 2 sts, 2 sc in the next st; repeat from * 2 more times. (12)
- Round 6: Sc in each st around. (12)
- Round 7: *Sc in the next st, 2 sc in the next st, sc in the next 2 sts; repeat from * 2 more times. (15)
- Round 8: Sc in each st around. (15)
- Round 9: *Sc in the next 4 sts, 2 sc in the next st; repeat from * 2 more times. (18)
- Round 10: Sc in each st around. (18)
- Round 11: *Sc in the next 2 sts, 2 sc in the next st, sc in the next 3 sts; repeat from * 2 more times. (21)
- Round 12: Sc in each st around. (21)
- Round 13: *Sc in the next 6 sts, 2 sc in the next st; repeat from * 2 more times. (24)
- Round 14: Sc in each st around. (24)
- Round 15: *Sc in the next 3 sts, 2 sc in the next st, sc in the next 4 sts; repeat from * 2 more times. (27)
- Round 16: Sc in each st around. (27)
- Round 17: *Sc in the next 8 sts, 2 sc in the next st; repeat from * 2 more times. (30)
- Round 18: Sc in each st around. (30)
- Round 19: *Sc in the next 4 sts, 2 sc in the next st, sc in the next 5 sts; repeat from * 2 more times. (33)
- Round 20: Sc in each st around. (33)
- Round 21: *Sc in the next 10 sts, 2 sc in the next st; repeat from * 2 more times. (36)
- Rounds 22–23: Sc in each st around. (36)
Sl st in the next st and fasten off, leaving a 16 in (40 cm) tail for sewing the base on later.
Why the increases move: on every other increase round the increase sits in the middle of the repeat instead of at the end. That stops the increases stacking on top of each other, which would give the cone three visible “corners” instead of a smooth round shape.
Small and large sizes
- Small: work Rounds 1–13 as above (24 sts), then sc in each st around for 2 more rounds (15 rounds in total).
- Large: work Rounds 1–21 as above (36 sts), then continue:
Round 22: sc in each st around (36)
Round 23: *sc in the next 5 sts, 2 sc in the next st, sc in the next 6 sts; repeat from * 2 more times (39)
Round 24: sc in each st around (39)
Round 25: *sc in the next 12 sts, 2 sc in the next st; repeat from * 2 more times (42)
Round 26: sc in each st around (42)
Round 27: *sc in the next 6 sts, 2 sc in the next st, sc in the next 7 sts; repeat from * 2 more times (45)
Round 28: sc in each st around (45)
Round 29: *sc in the next 14 sts, 2 sc in the next st; repeat from * 2 more times (48)
Rounds 30–31: sc in each st around (48)
Base circle (green)
This flat circle closes the bottom of the tree. It’s worked in joined rounds.
- Round 1: Make a magic ring, ch 1, work 6 sc into the ring and join with a sl st to the first sc. (6)
- Round 2: Ch 1, 2 sc in each st around, join. (12)
- Round 3: Ch 1, *sc in the next st, 2 sc in the next st; repeat from * around, join. (18)
- Round 4: Ch 1, *sc in the next 2 sts, 2 sc in the next st; repeat from * around, join. (24) Stop here for the small tree.
- Round 5: Ch 1, *sc in the next 3 sts, 2 sc in the next st; repeat from * around, join. (30)
- Round 6: Ch 1, *sc in the next 4 sts, 2 sc in the next st; repeat from * around, join. (36) Stop here for the medium tree.
- Round 7: Ch 1, *sc in the next 5 sts, 2 sc in the next st; repeat from * around, join. (42)
- Round 8: Ch 1, *sc in the next 6 sts, 2 sc in the next st; repeat from * around, join. (48) Stop here for the large tree.
Fasten off. The base always ends with the same number of stitches as the bottom of the cone, so you can join them one stitch to one stitch.
Star (yellow)
- Round 1: Make a magic ring, ch 1, work 5 sc into the ring and join with a sl st to the first sc. (5)
- Round 2: *Ch 3, sl st in the 2nd ch from the hook, sc in the next ch, sl st in the next sc of Round 1. Repeat from * 4 more times. (5 points)
Fasten off with a tail for sewing.
Garland (cream)
Make a chain of about 30 (small), 60 (medium) or 80 (large) stitches. Don’t fasten off yet: it’s easier to wrap the chain around the tree first and add or pull out a few chains until it fits.
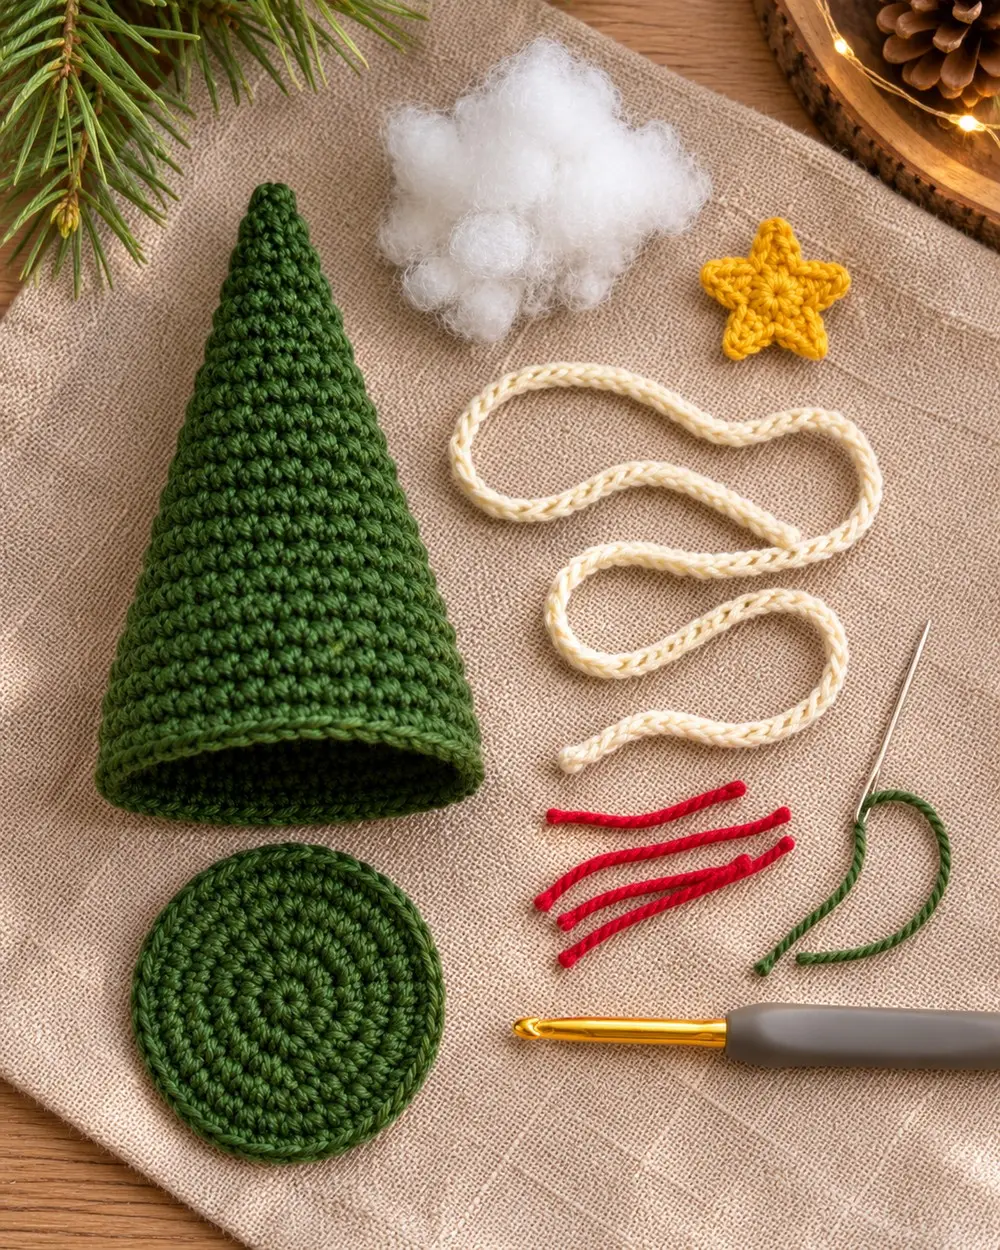
Putting the tree together
- Stuff the cone firmly but not until it bulges. Push small pieces right into the tip with the back of your hook. For a tree that stands perfectly flat, cut a cardboard circle slightly smaller than the base and lay it on top of the stuffing.
- Attach the base: hold the base circle against the bottom of the cone and whip stitch them together with the long tail, one stitch of the cone to one stitch of the circle. Add a little more stuffing just before you close the gap.
- Add the garland: starting just below the tip, wind the cream chain around the tree in a gentle spiral, about three turns for the medium tree. Adjust the length, fasten off, then tack it down every inch or so with a few stitches of cream yarn.
- Baubles: with red yarn, add 6–10 French knots between the turns of the garland. Wrap the yarn twice around the needle for a nice round knot.
- Star: sew the star onto the very tip so it faces forward. A few stitches through the centre and one point are enough.
- Finish: weave all the ends into the stuffing and trim them.
Tips for a neat cone
- Use a stitch marker every round. In a spiral it’s very easy to lose your place, and one extra or missing stitch changes the cone’s shape.
- Count after every increase round. The counts go up in threes, so it’s quick to check: 6, 9, 12, 15 and so on.
- Work through both loops for a smooth surface. Working only in the back loop gives a ridged texture that also looks lovely, but makes the tree slightly taller.
- The tip is fiddly for everyone. The first few rounds are tiny; if they’re hard to see, pull the magic ring tight and keep going, the shape appears around Round 6.
- Steady base: a few spoonfuls of plastic pellets in a small fabric bag at the bottom makes the tree heavy enough to stand on a mantel without tipping.
Ways to decorate
- Snowy tree: work the cone in white or cream with a red garland.
- Striped tree: switch colours every 4 rounds at the start of a round; the spiral hides most of the colour jog.
- Fairy-light tree: wrap a strand of battery micro lights around it instead of the chain garland.
- Tiny forest: make all three sizes in slightly different greens for a natural look.
Frequently asked questions
How long does it take to crochet a cone tree?
The medium cone and base add up to 624 single crochet. Most people can make the tree, garland and star in one to two hours. The small tree has under 300 stitches, so it’s a good 45-minute project.
Why is my cone wavy or ruffled?
You’ve probably added extra stitches, usually by working twice into the marked stitch at the start of a round. Count your stitches; if the number is higher than the pattern, pull back to the last correct round.
Can I make a taller, thinner tree?
Yes. Work two plain rounds instead of one between the increase rounds. The tree gets taller and narrower, and you’ll need a few more rounds to reach the same base count.
Is it safe for children?
The trees are decorations rather than toys. If little ones will handle them, skip any pellets, keep the stuffing well inside and make sure the star and garland are sewn on securely.
Save it for later
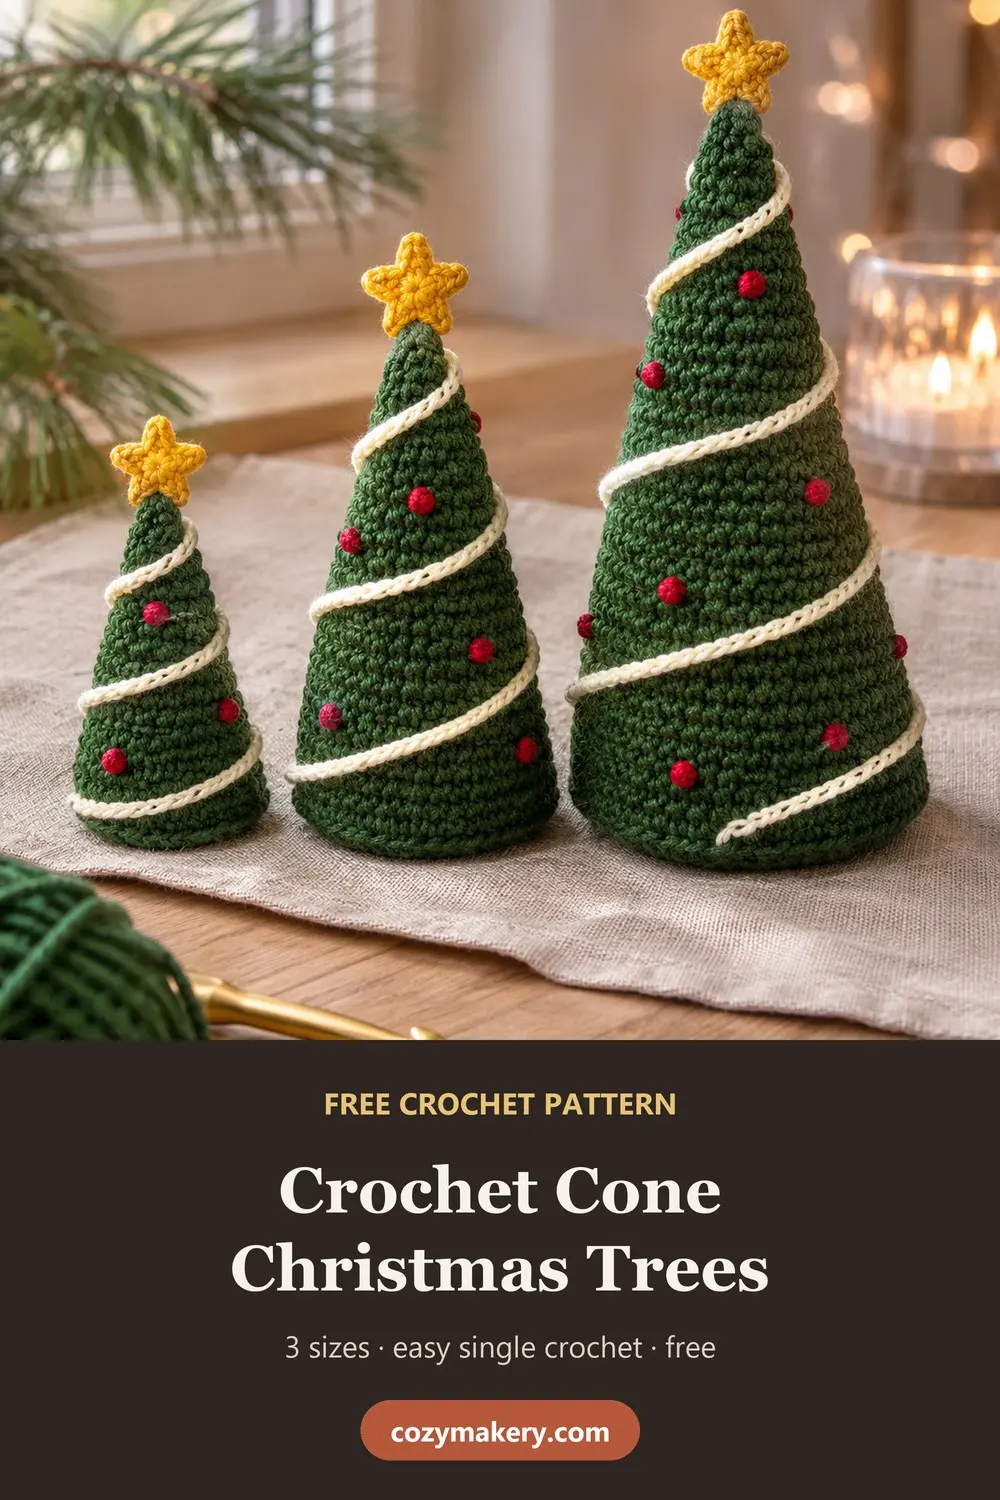
Pin the image below so the pattern is easy to find when you’re ready to make your forest. If you make some trees, I’d love to see them: send a photo to info@cozymakery.com. And if anything in the pattern doesn’t add up, let me know and I’ll fix it.
Want a flat version to hang on the tree? Try the crochet Christmas tree ornament. New to crochet? The classic granny square is a great second project, and the crochet Christmas stocking is the perfect next festive make. You’ll find more in Christmas Crafts.